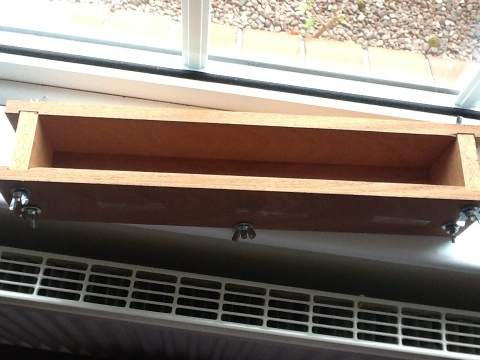
About a year ago, my sister Cat sent me some handmade soap. It was a small bar with ground almond shell in it and it had the most delightful smell. Looking at the ingredients I thought “I could make this”. So began my journey to making a bar of soap. After some Internet research I decided to buy “The handmade soap book” by Melinda which can be found on Amazon for about £6. This has been an invaluable tool to my soap making, and after reading from cover to cover, I decided to source a soap mould. Although you can use plastic food containers or cylindrical drain pipes, I wanted my bars to be neat edged rectangles. Now you can buy silicon or plastic moulds that have individual soap shaped compartments, but I was quite surprised at the price of these (just type in soap moulds into a search engine and check out what is available). Fortunately I have a friendly carpenter who put this together for me

It measures 14 1/2″ x 2″ x 2 1/2″ and holds just over 1l of liquid.
With this important part of my soap making sorted (This was now about 8 months after I received my inspirational bar of soap) I just needed to get hold of the ingredients.
So this is the recipe and I used the bramble berry lye calculator app to calculate amounts, I also bought some digital scales, a 1l glass mixing bowl, a 2l plastic mixing bowl (although a clean plastic bucket will do), a 1l glass measuring jug, 2 thermometers that go up to at least 100oC (jam making thermometers are ok as long as they are not encased in aluminium), plastic spoons, a cheap stick blender (mine was £4 from a supermarket), some safety goggles and a pair of rubber gloves.
This recipe makes 47oz which was just right for my soap mould dimensions. Also it contains animal fat which the veggies amongst you may not approve of (but vegetable shortening can be substituted)
10oz organic beef dripping (from local farm shop)
10oz organic olive oil (doesn’t need to be extra virgin and can be bought from supermarkets)
4oz organic almond oil (from local Asian shop)
4oz organic sunflower oil (from supermarket)
2oz organic beeswax (from amazon online shop)
2oz organic coconut oil (from local Asian shop)
4.14oz caustic soda (sodium hydroxide bought from hardware shop)
10.6oz distilled water (some supermarkets, car shops and even unpolluted rain water)
3tsp organic geranium essential oil
3tsp organic bergamot essential oil
1tsp organic ylang ylang essential oil
4tbs dried chopped lemon balm leaves (from my garden)
So to begin with I lined my soap mould with cling film then grease proof paper
Then I melted all of the oils together in a glass bowl over a pan of hot water
Meanwhile, I weighed out the caustic in a small glass bowl, then in the glass measuring jug I weighed out the water, and whilst wearing gloves and goggles, carefully poured the caustic into the water whilst stirring with a stainless steel tablespoon. Do not breath in the fumes, there is a really good tutorial on YouTube by soap queen that shows you how to make soap safely. Hot caustic in eyes could cause permanent blindness so I would recommend watching Soap Queen Safety
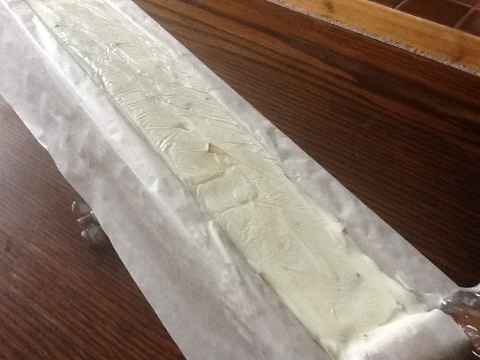
Take the temperature of the caustic and the melted oils, once they about 55oC pour the caustic into the oils and stir with a plastic spoon. I used my stick blender to reach a “trace”. Then I carefully measured out and stirred my essential oils and lemon balm leaves into the soap mixture and then poured it into my mould. I placed a sheet of cling film over the top and then wrapped the whole thing in a towel and left it set overnight.

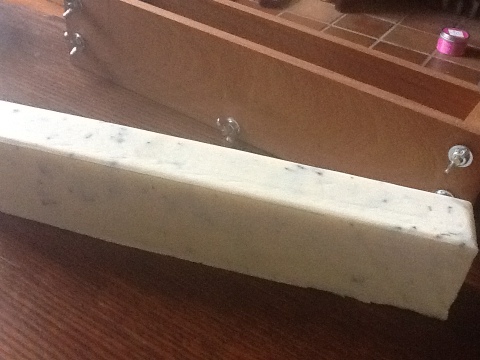
The next day I released the nuts on the side of my mould and carefully pulled the soap block out

I used a ruler to measure 2″ slices and used a sharp kitchen knife to cut the bars

Et voila! I must admit I was rather pleased with my beautifully scented bars. I now have them covered on a board for 5 weeks to “cure” and will turn them occasionally.


